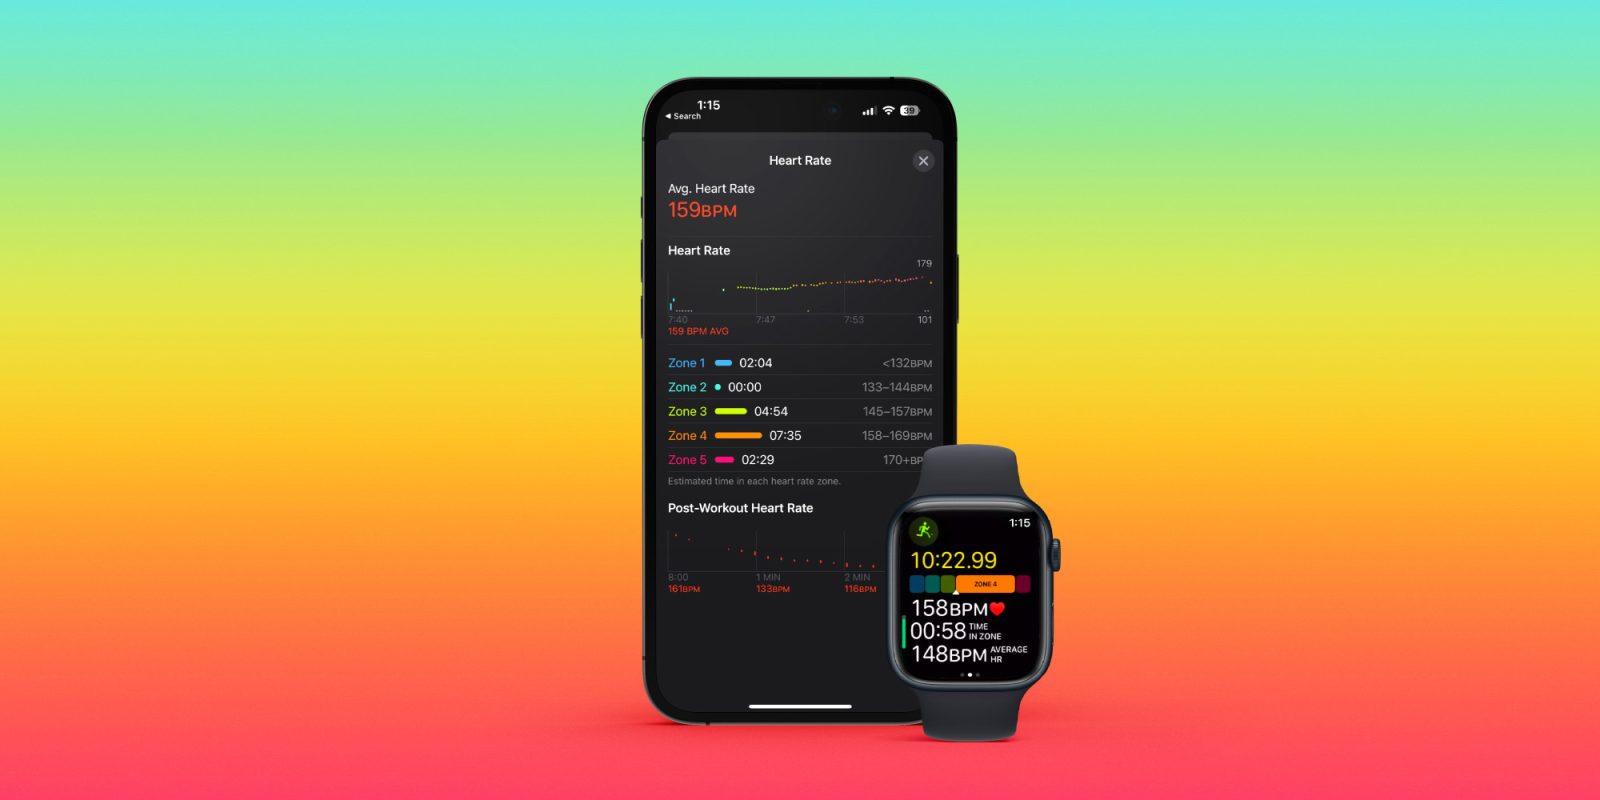

A handy health and fitness feature with watchOS and iOS is the ability to see your heart rate zones on Apple Watch and iPhone. Read on for what they mean, how to see your max heart rate, manually edit your zones, and more.
Apple Watch and iPhone – with watchOS 9/iOS 16 and later – automatically create your five heart rate zones based on the Heart Rate Reserve method. Max and resting values are updated automatically on the first day of each month.
Here’s how Apple describes the feature:
“Heart Rate Zones are a percentage of your maximum heart rate and are automatically calculated and personalized using your health data. On Apple Watch, Heart Rate Zones are presented in five segments—effort levels from light to increasingly harder. By monitoring your Heart Rate Zone, you can make your workout more efficient and challenge yourself to improve your fitness.”
How to see heart rate zones on Apple Watch and iPhone
See heart rate zones during a workout
- Make sure you’re running watchOS 9 or later on Apple Watch and also have your birthdate entered in the Health app on iPhone
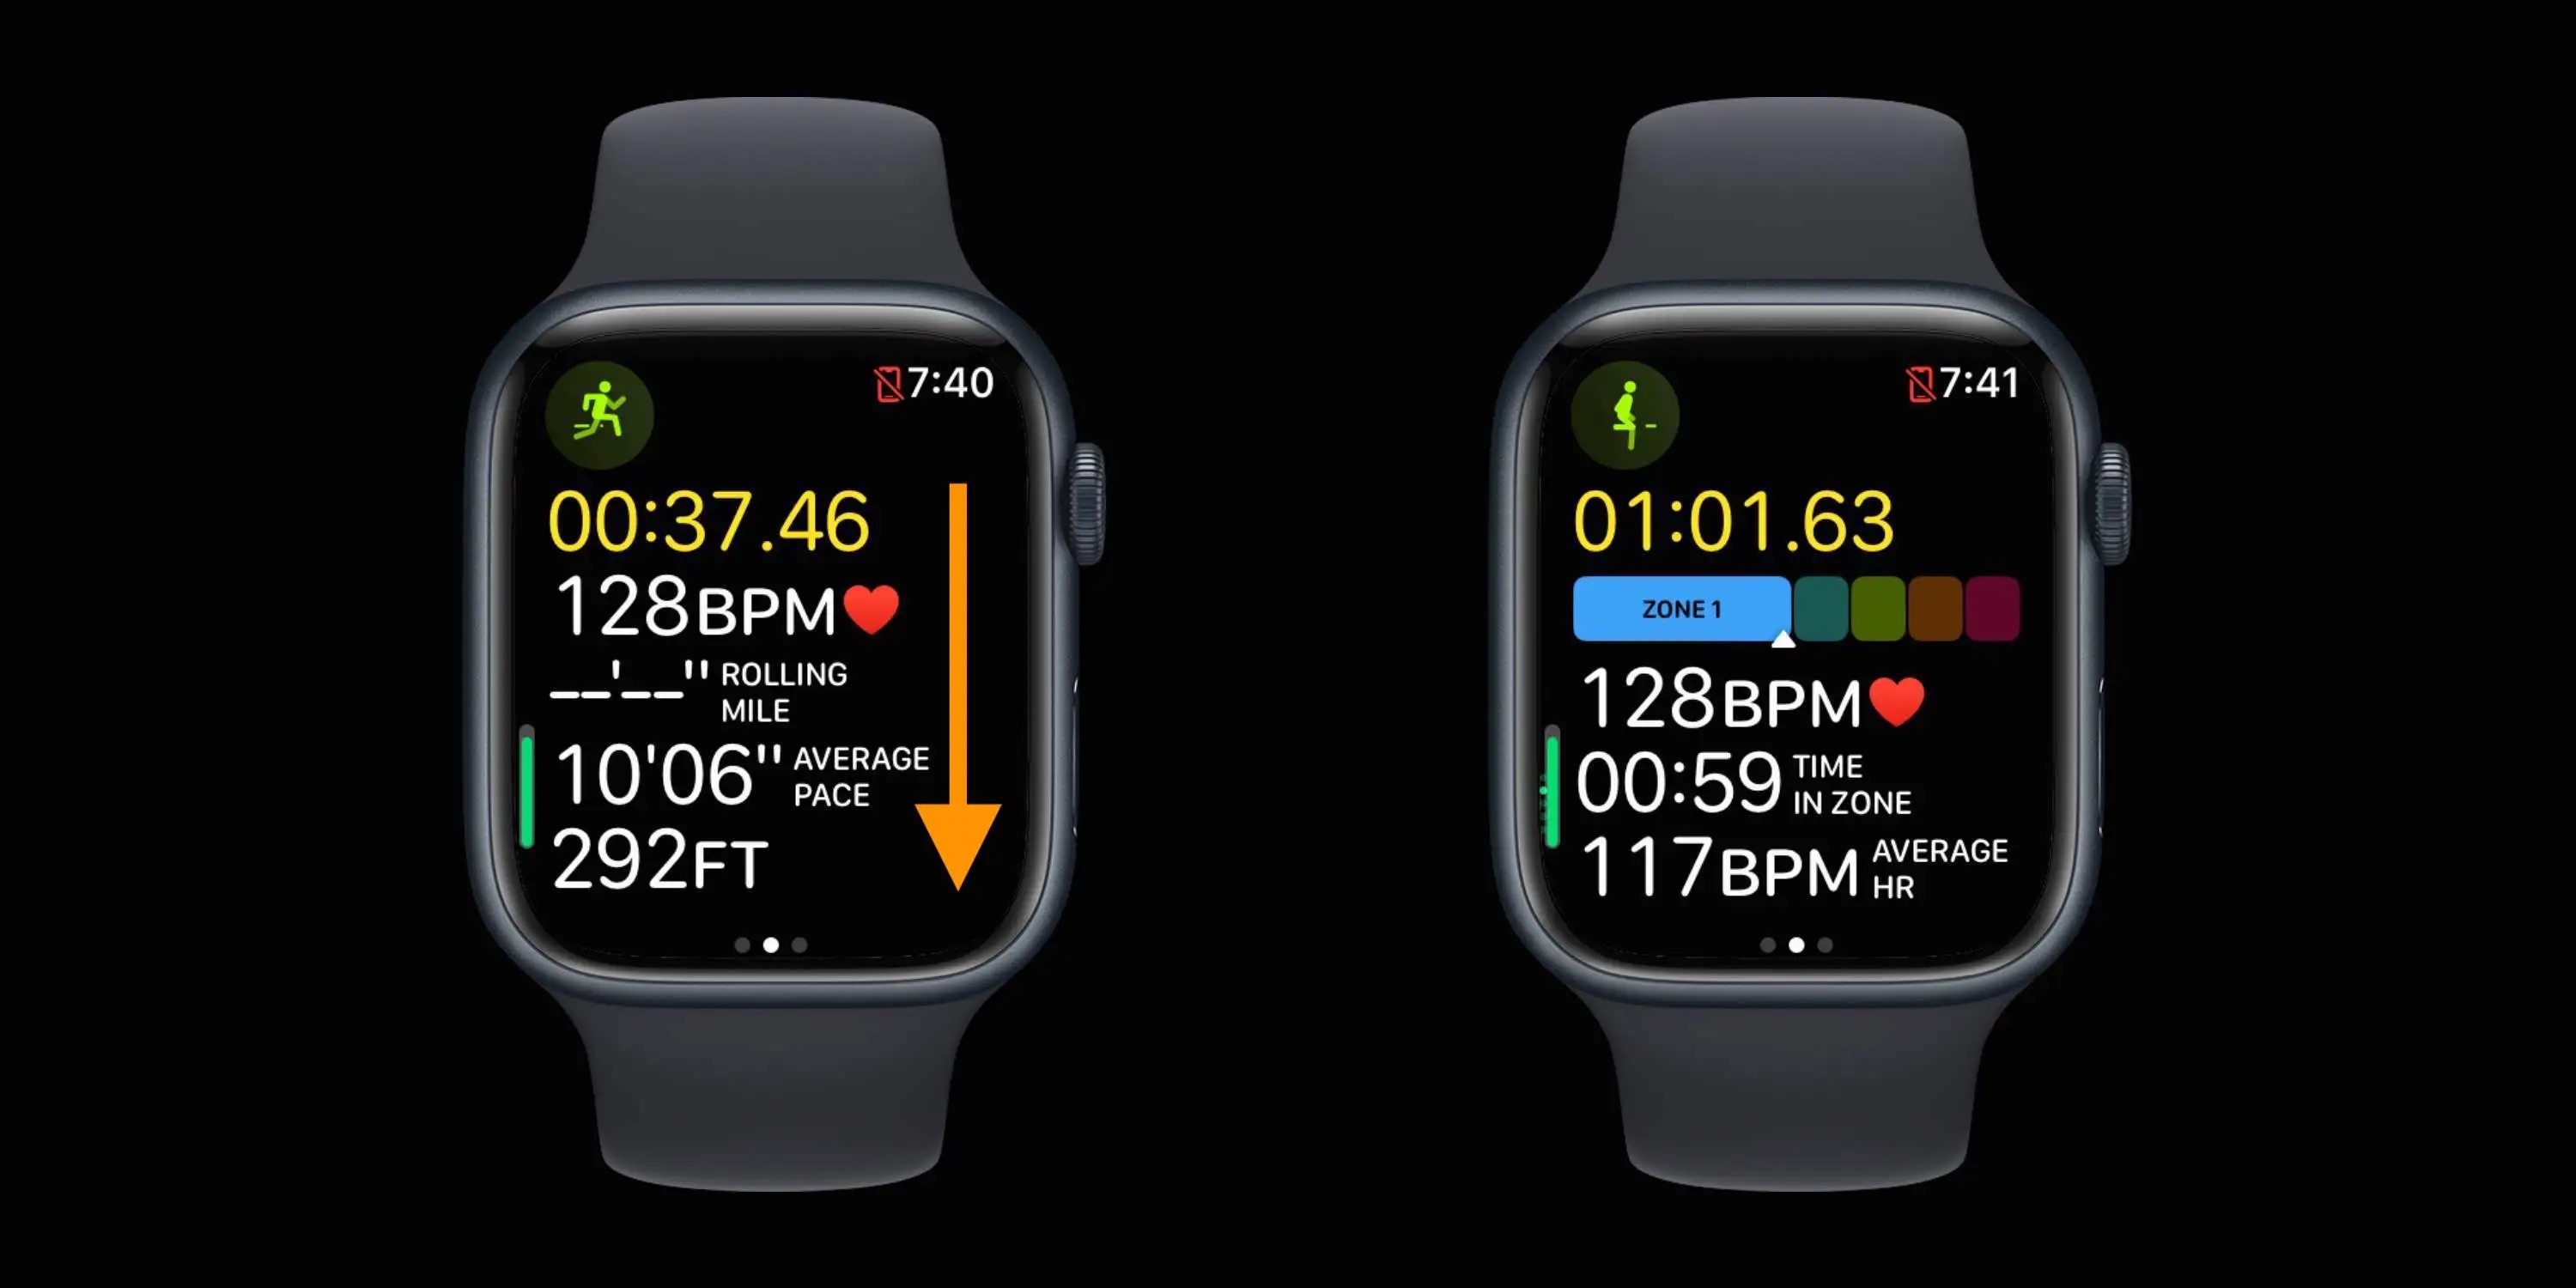
- Start a cardio-focused workout like a walk, run, or cycling (Apple hasn’t shared exactly which workout types include heart rate zones except for “cardio-focused” ones)
- Swipe down on the first Workout screen to see your heart rate and which zone it’s in

See heart rate zones after a workout
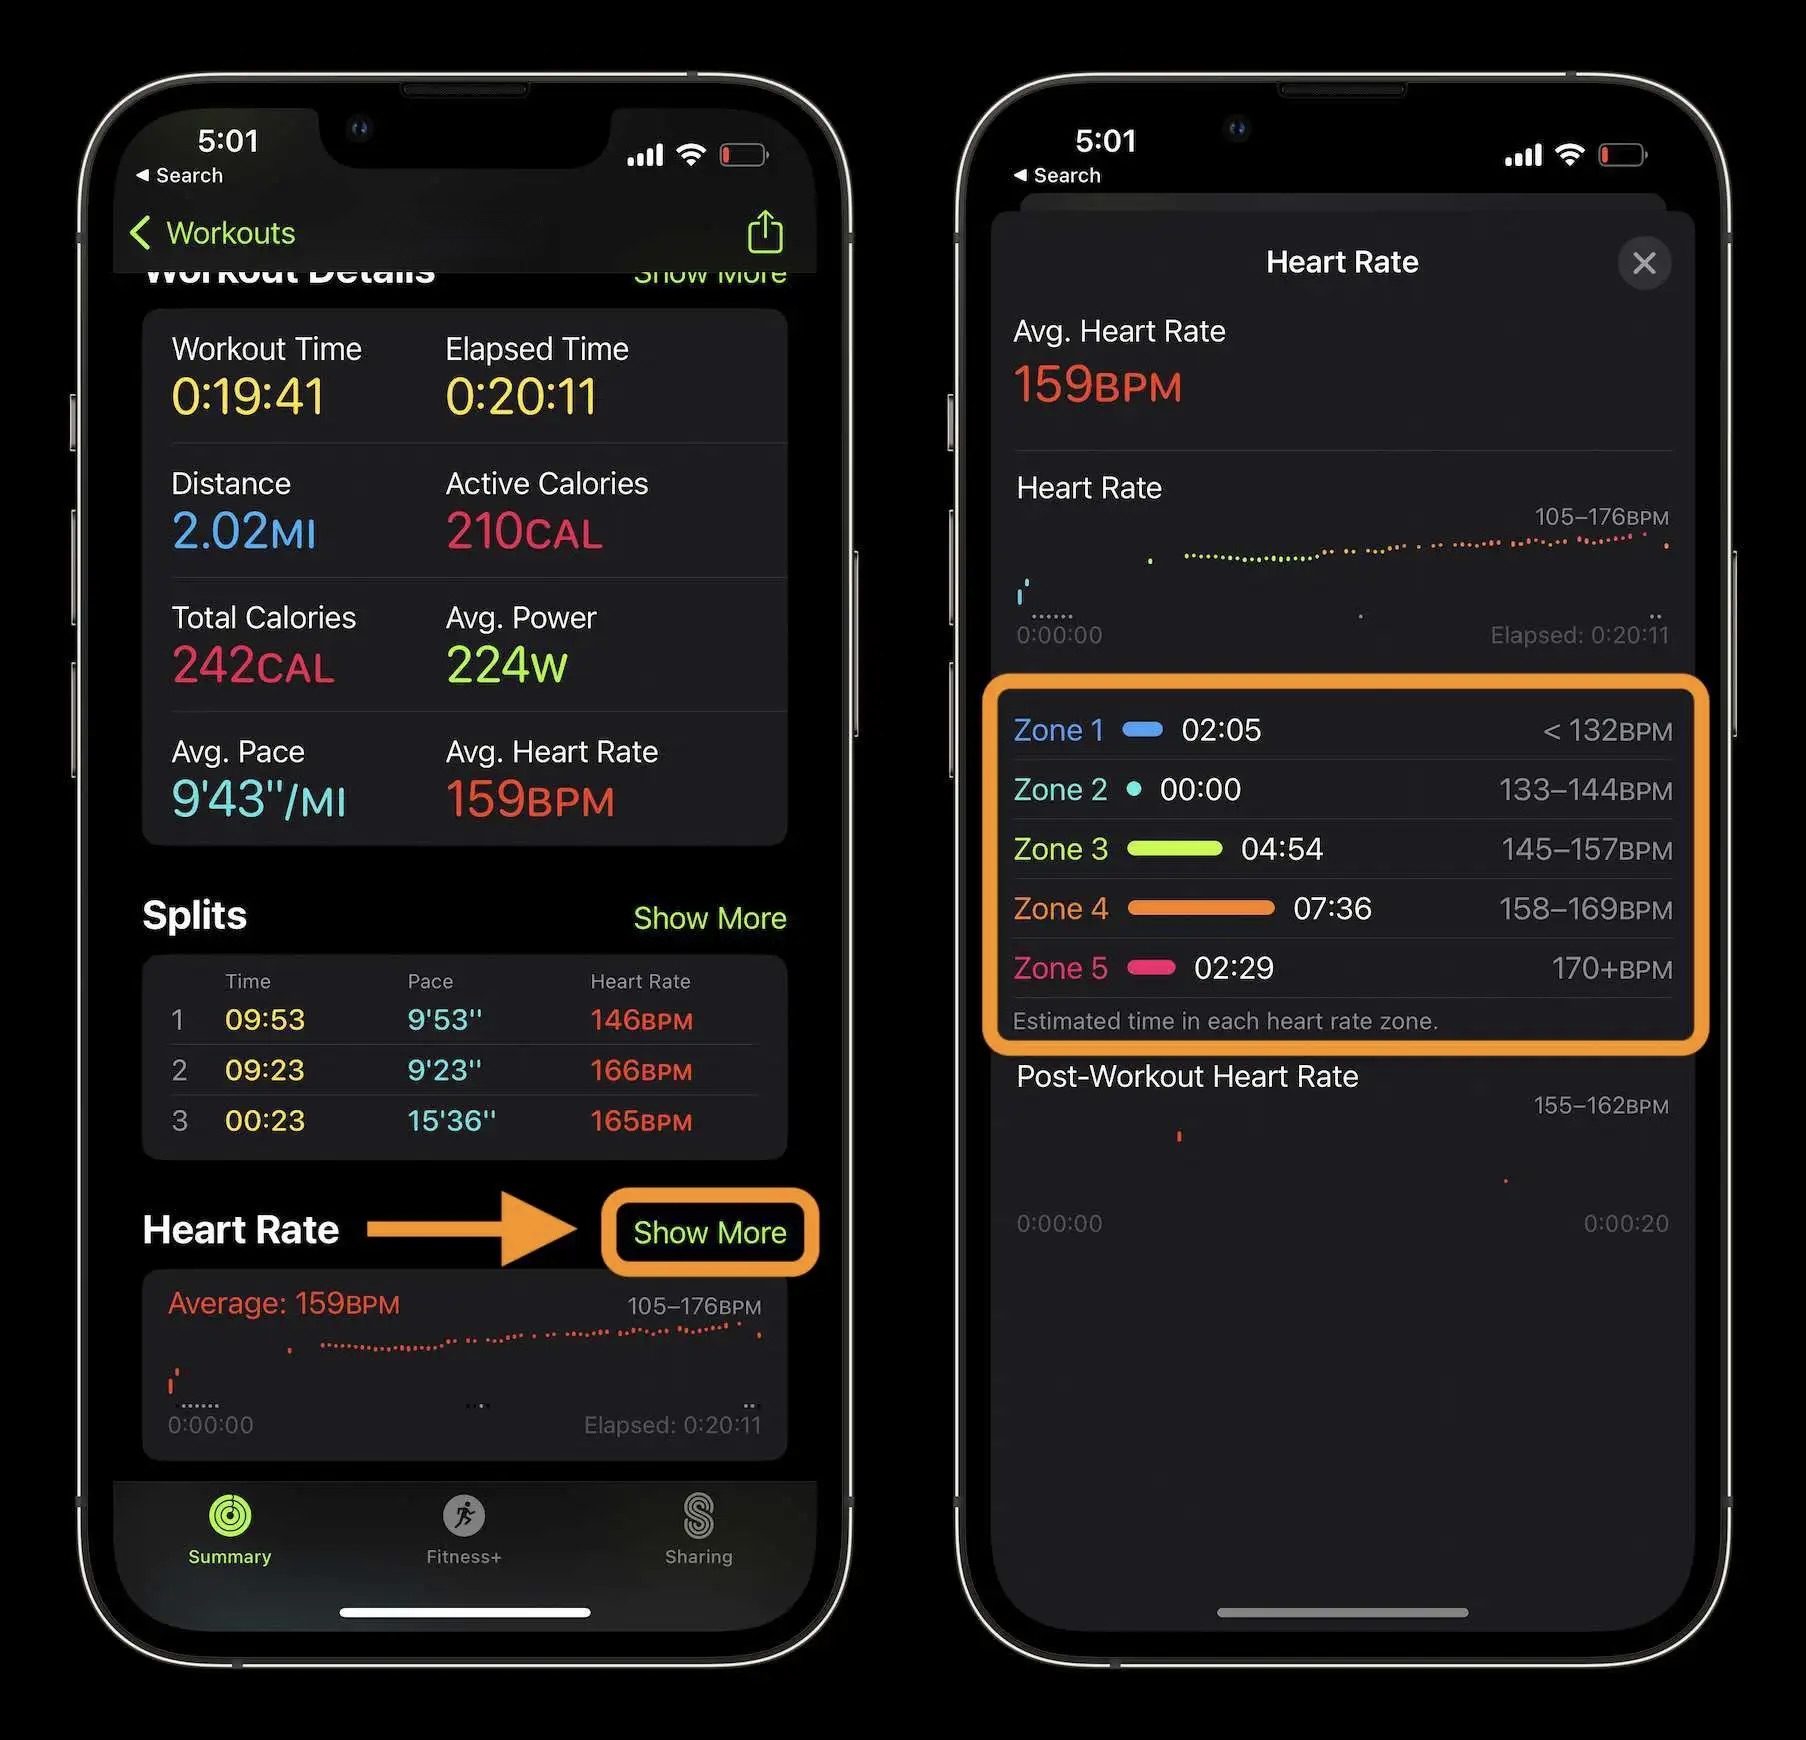
- After a workout, head to the Fitness app on iPhone to see heart rate zone data
- Choose a workout from the main Summary screen or tap the rings or Show More to pick a different date/workout
- Once you’ve picked a workout, swipe down until you see Heart Rate, tap Show More
Now you’ll see the breakdown of how much time you spent in each heart rate zone:

How to manually edit your heart rate zones
While the heart rate zones are automatically added based on your age, height, and weight, you can manually change them (usually for advanced athletes).
- Head to Settings > Workout > Heart Rate Zones on your Apple Watch and choose Manual at the top
- Or on iPhone go to the Apple Watch app > Workout > Heart Rate Zones then choose Manual at the top
How to see your max heart rate?
Going beyond your max heart rate is considered unsafe by medical professionals. To see your recommended maximum:
- Head to Settings > Workout > Heart Rate Zones on your Apple Watch, swipe down to find your max heart rate
- Or on iPhone go to the Apple Watch app > Workout > Heart Rate Zones, swipe down to find your max heart rate
What do heart rate zones mean?
Understanding your heart rate zones can be useful in a variety of ways. But some of the most practical applications are using heart rate training (properly rest or push yourself), targeting fat-burning or carb-burning heart rate zones, and awareness for those who have health conditions.
The Cleveland Clinic has a helpful article on understanding what kind of calories you’re burning in different zones. This won’t map directly to the five heart rate zones with Apple Watch, but is a good starting point.
Use your max heart rate (details on finding above) to figure out the numbers from the below calculations:
- Lower-intensity zone: You’re exercising at 50% to 60% of your max heart rate. At this point, 85% of the calories you burn are fat. The downside? You’re burning fewer calories overall than you would if you were exercising at a higher intensity. You’re generally able to sustain this zone the longest amount of time.
- Temperate zone: You’re exercising at 60% to 70% of your max heart rate. Roughly 65% of the calories you burn are fat.
- Aerobic zone: Working at 70% to 80% of your max heart rate puts you in the aerobic zone. About 45% of the calories you burn are fat. But you’re burning a higher number of overall calories compared to the other heart rate zones. You generally sustain this zone the shortest amount of time.
For heart rate training, the big idea is to “train your aerobic system without overstressing your skeletal and muscular systems, explains personal trainer Erin Carr.” Check out this article from Runner’s World for all the fine details:
Read more 9to5Mac tutorials:


